
Photo Guide
How to Photograph Your Bus Terminal
Our 3D artists rebuild every approved terminal from community photos. The more angles you cover, the faster your submission gets approved. Aim for 8 to 40 photos, up to 4 MB each (JPG, PNG, WEBP or HEIC).
Required Angles
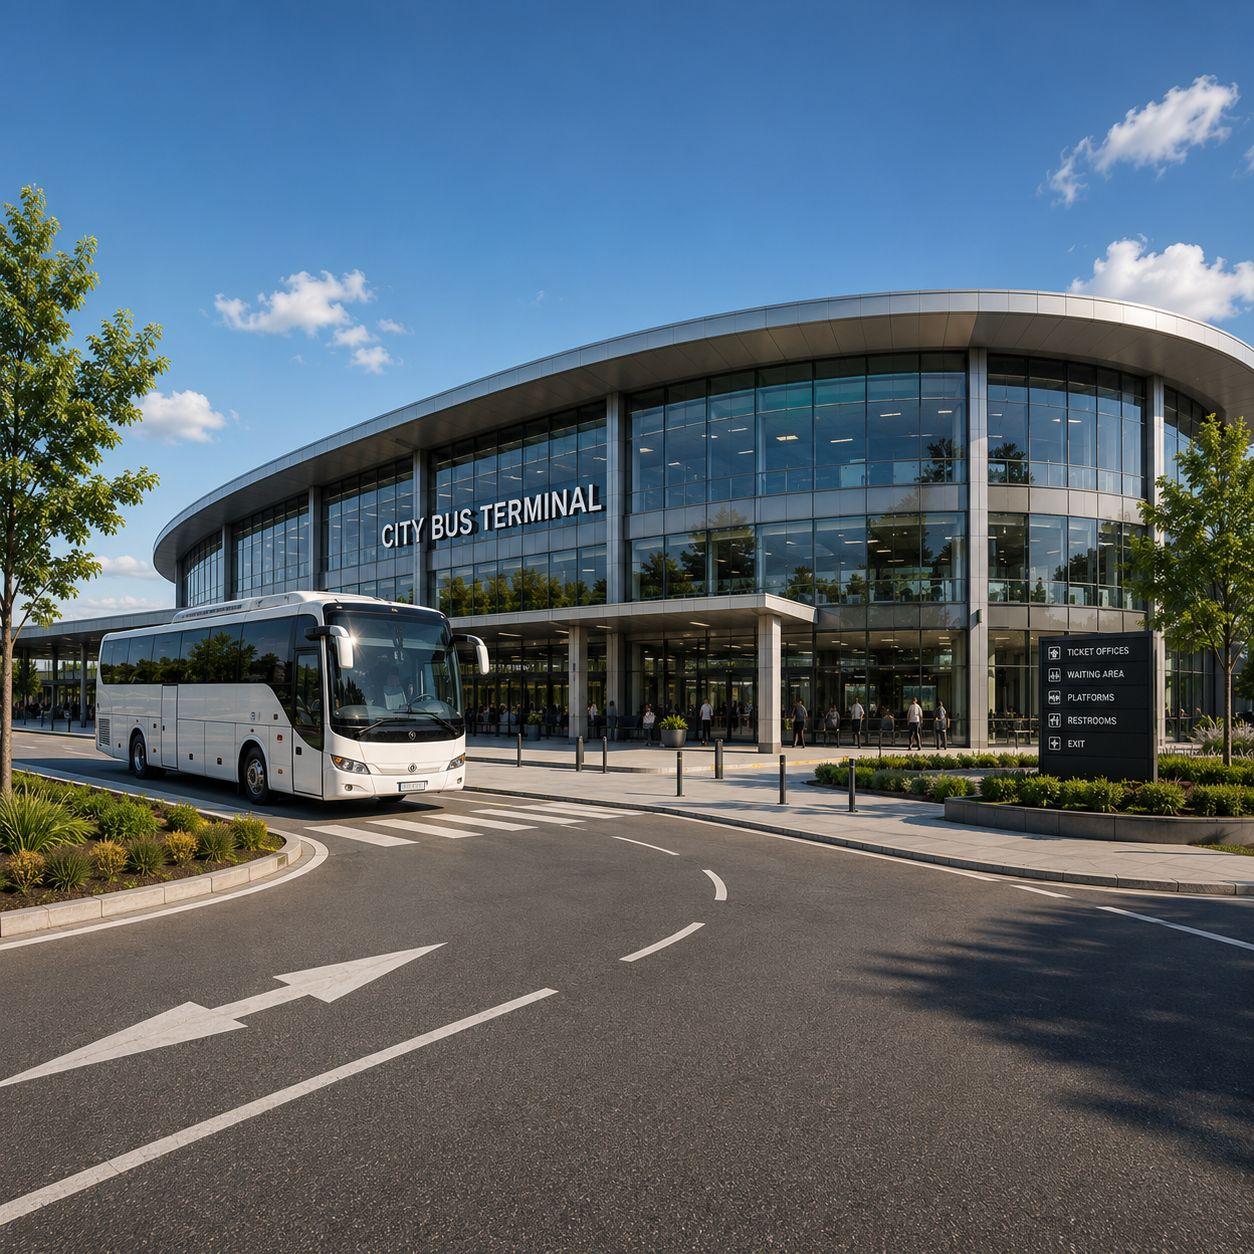 01
01Exterior General View
The whole terminal building photographed from across the street or a nearby open area. Capture the full façade.
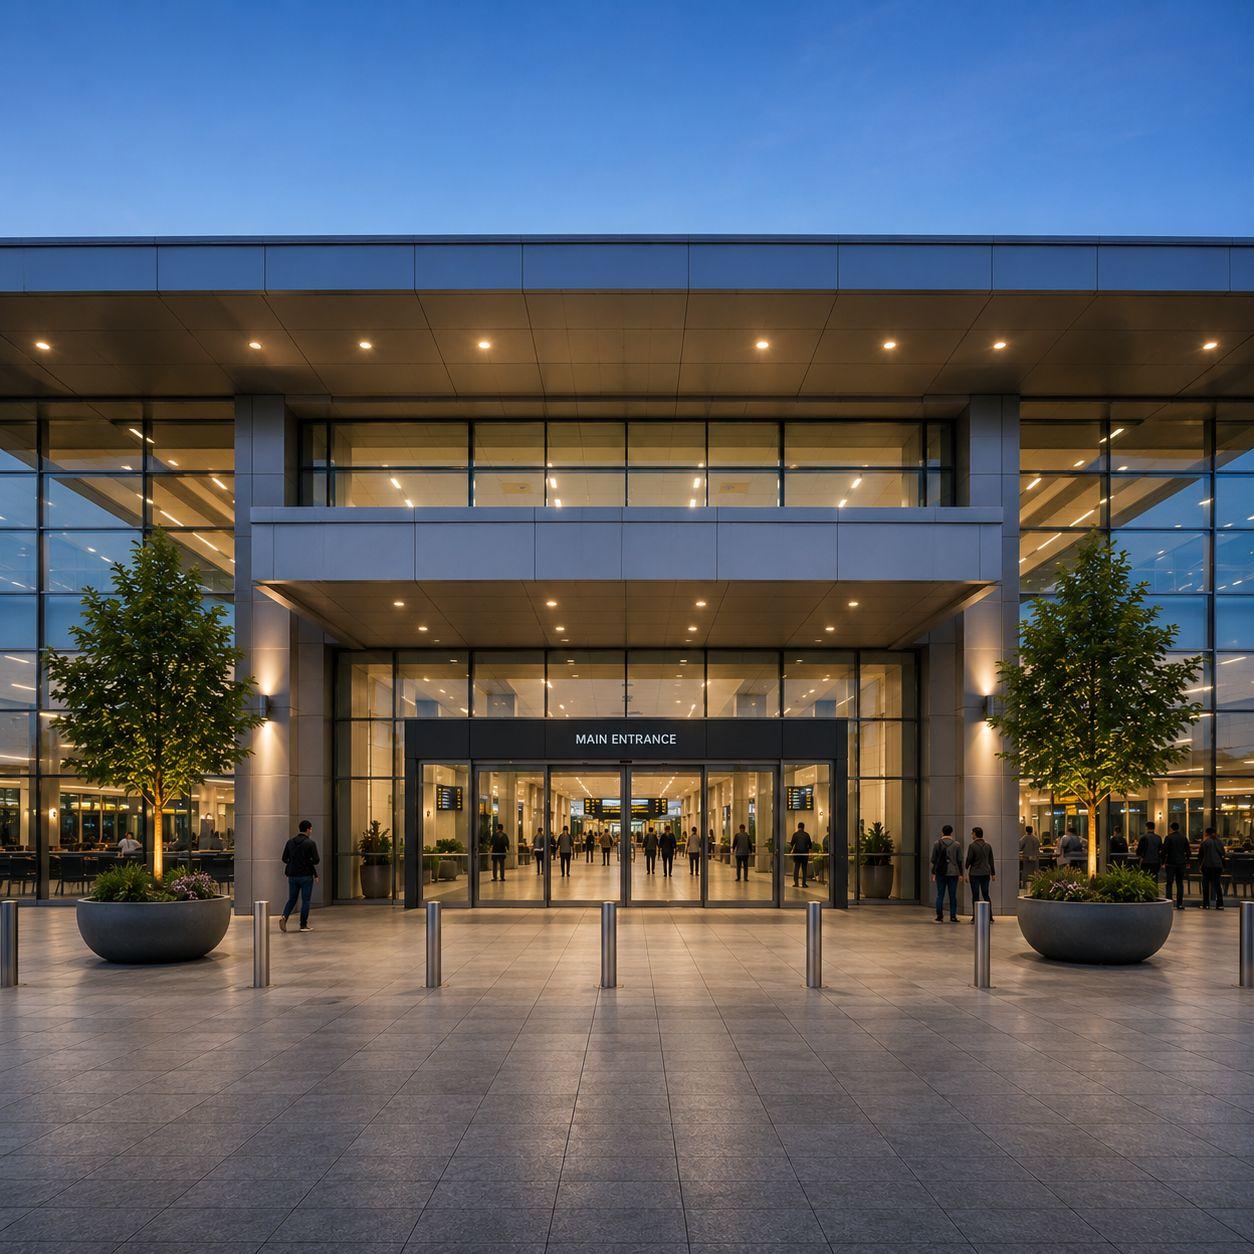 02
02Main Entrance
The main passenger entrance with doors, canopy and any name signage clearly visible.
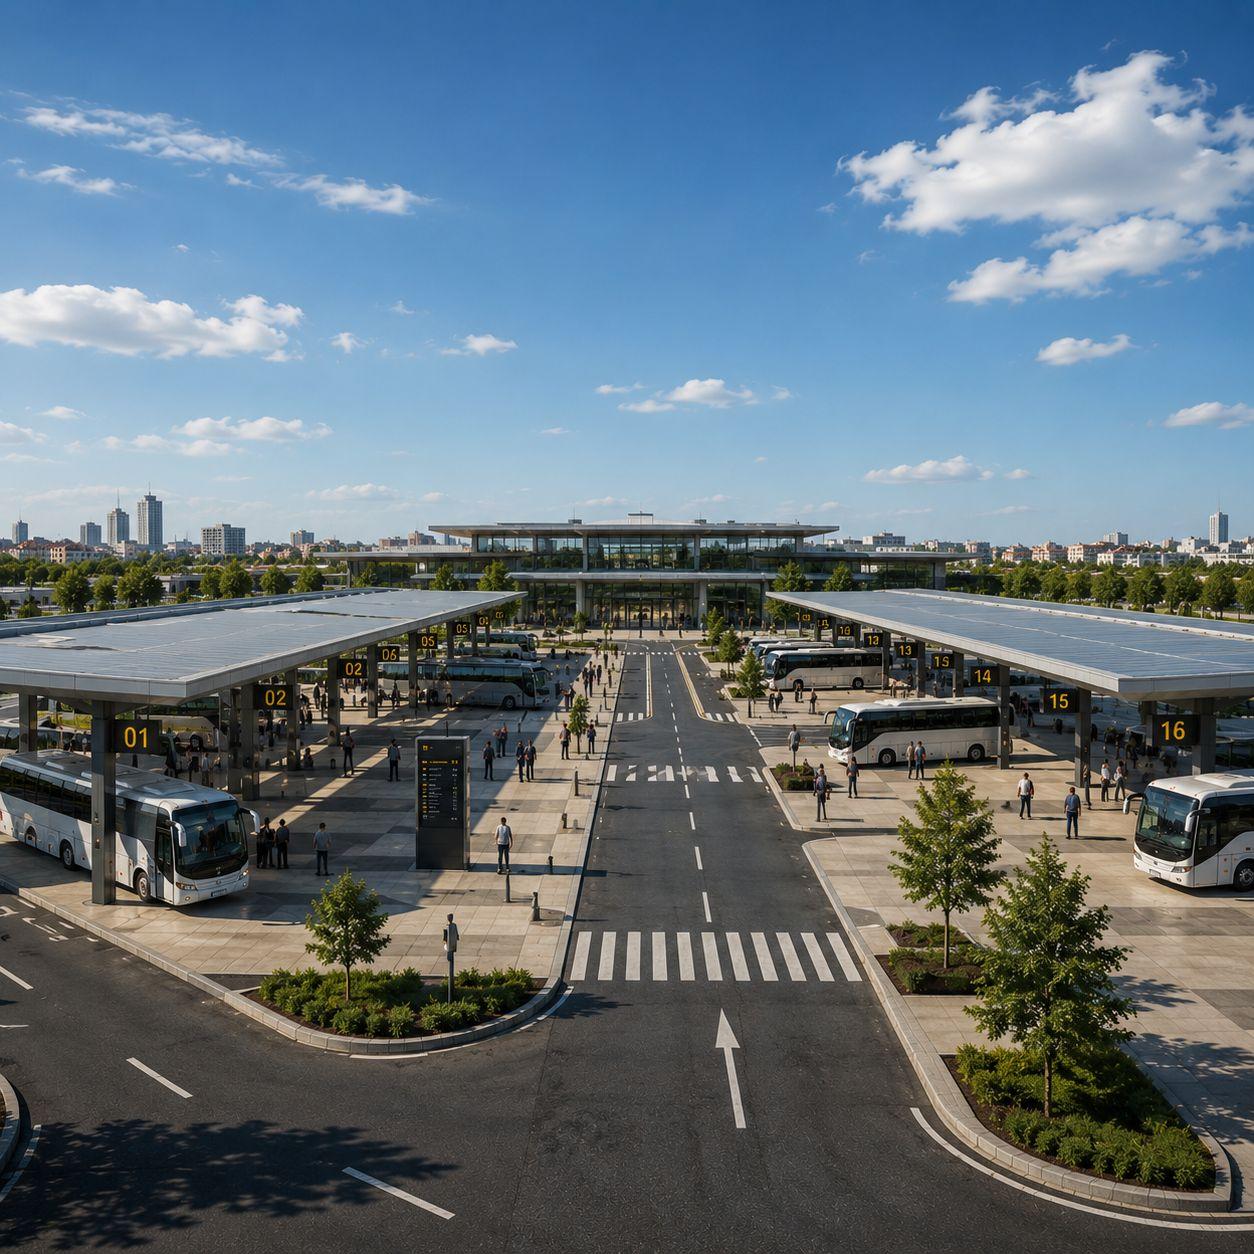 03
03Platform Wide View
A wide shot showing the overall platform layout, roof structure and bus circulation area.
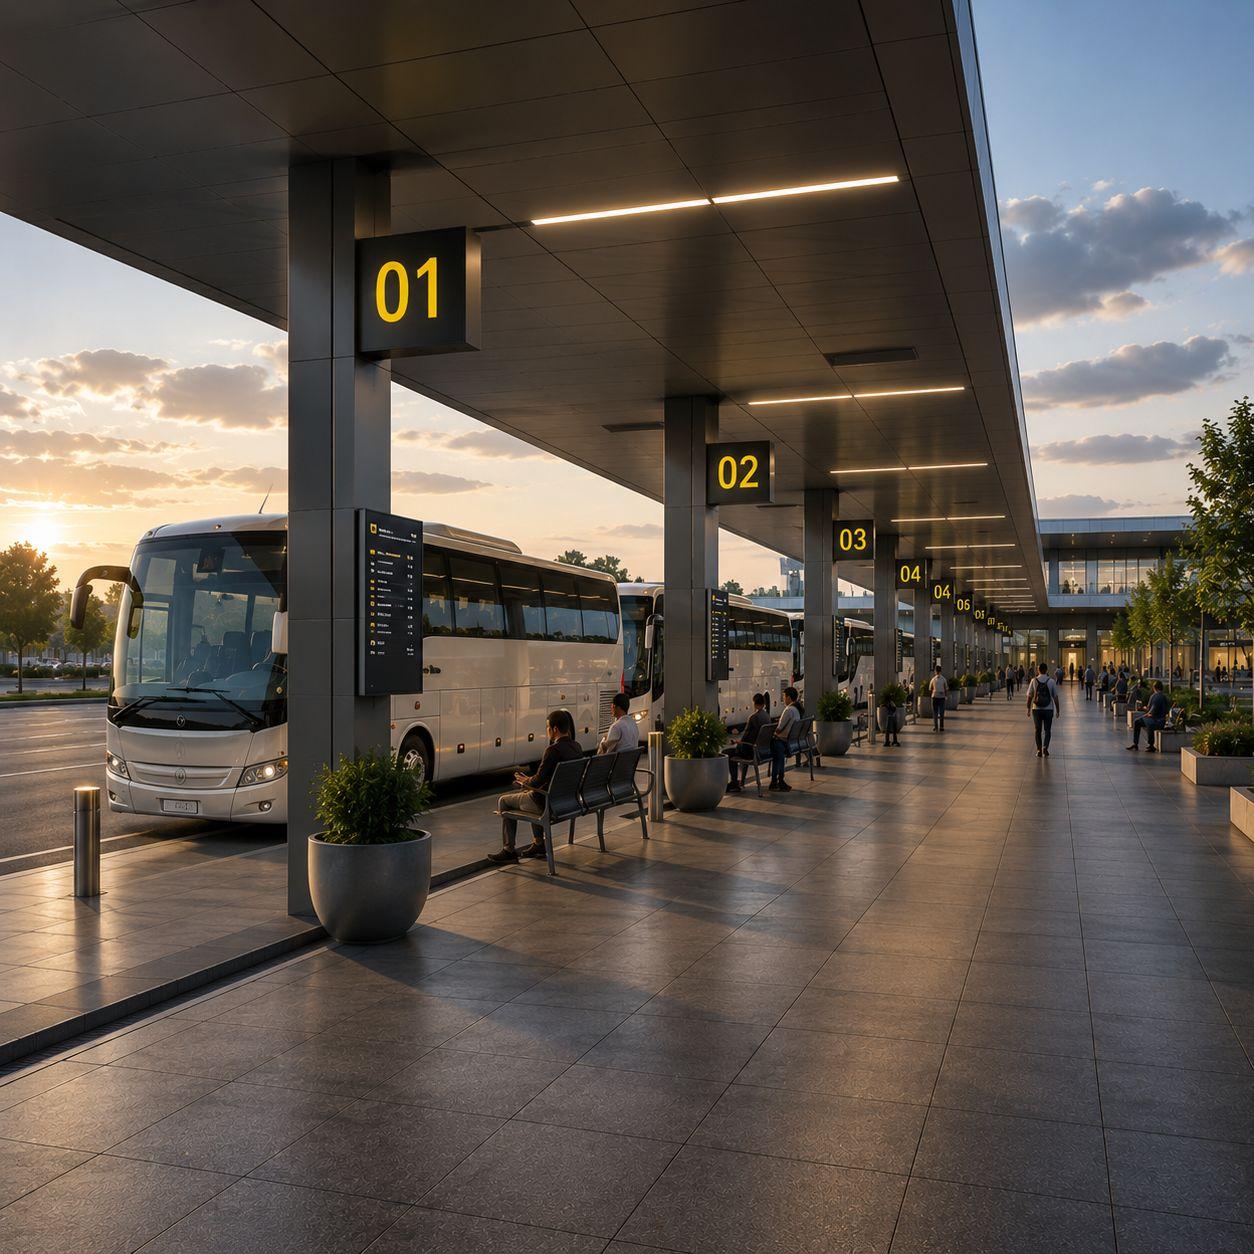 04
04Bus Platforms
Individual bays and platforms — include platform numbers, lane markings and boarding areas.
 05
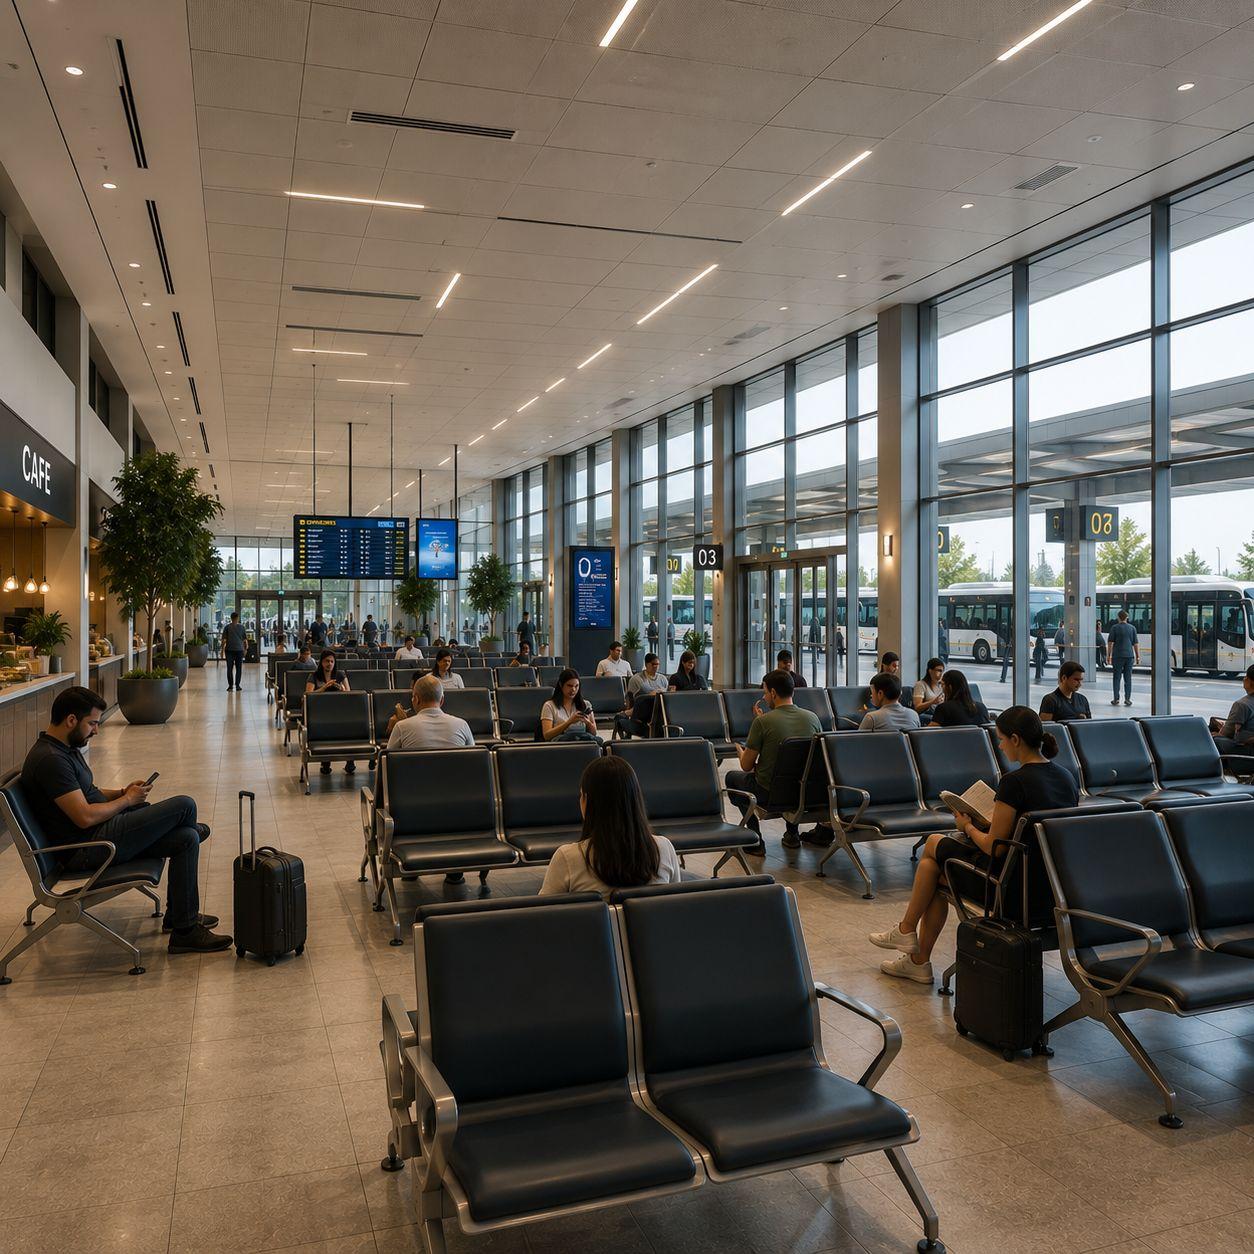
05Waiting Area
Passenger waiting halls with seating, lighting and general atmosphere.
 06
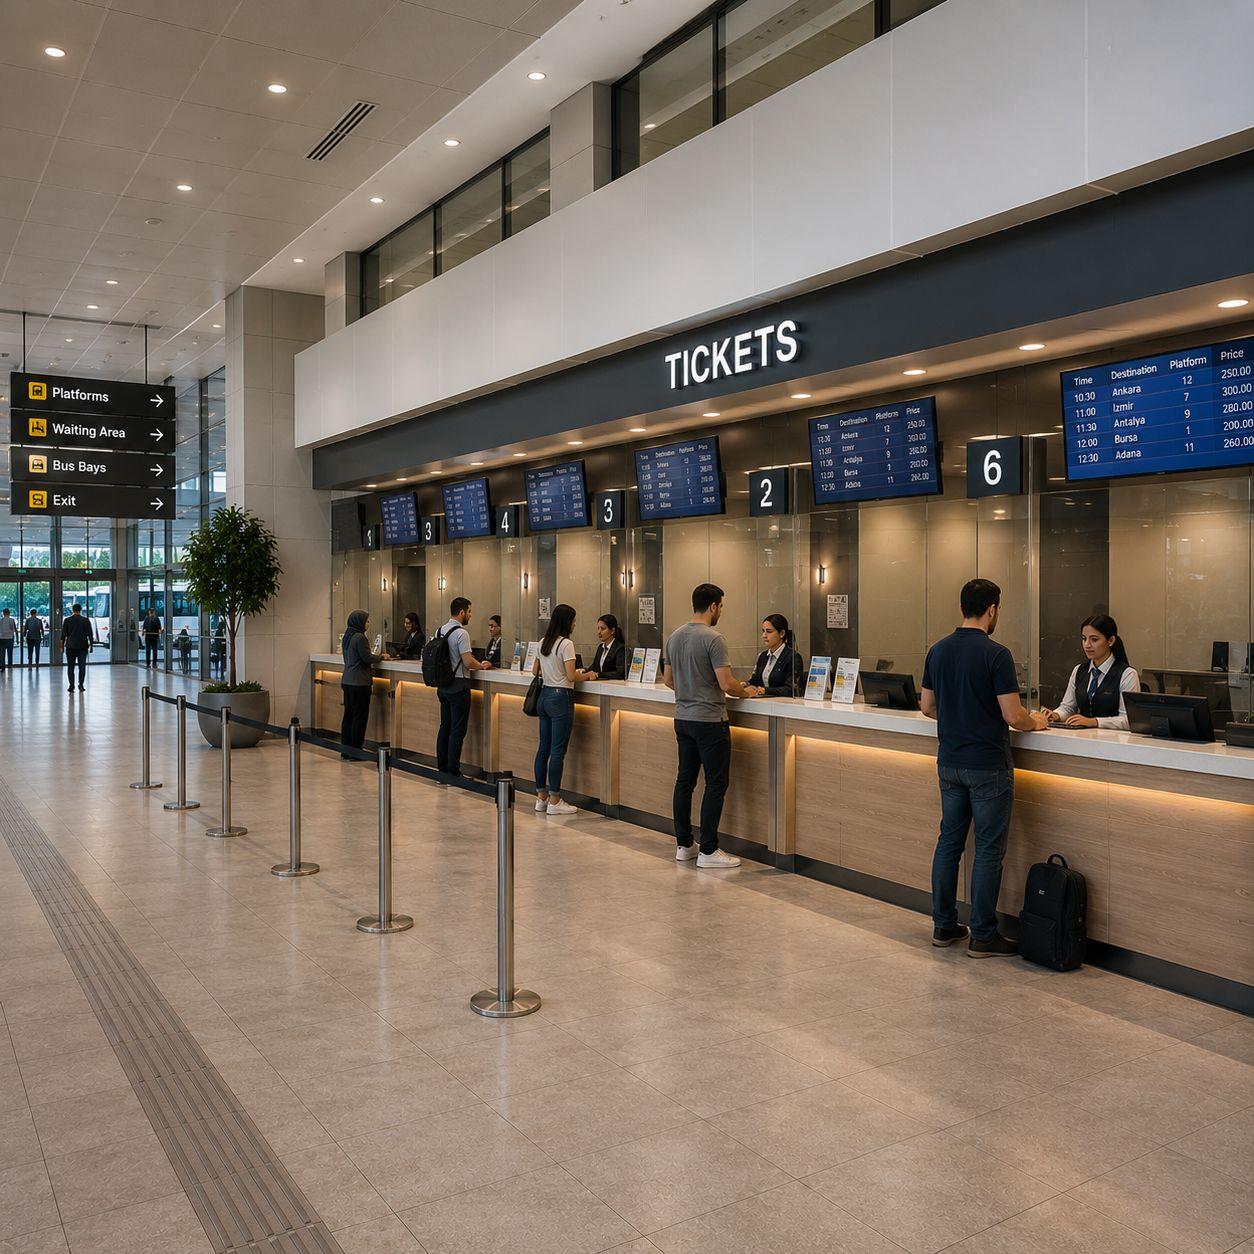
06Ticket Offices
Ticket counters and operator offices. Branding and counter layout help our artists a lot.
 07
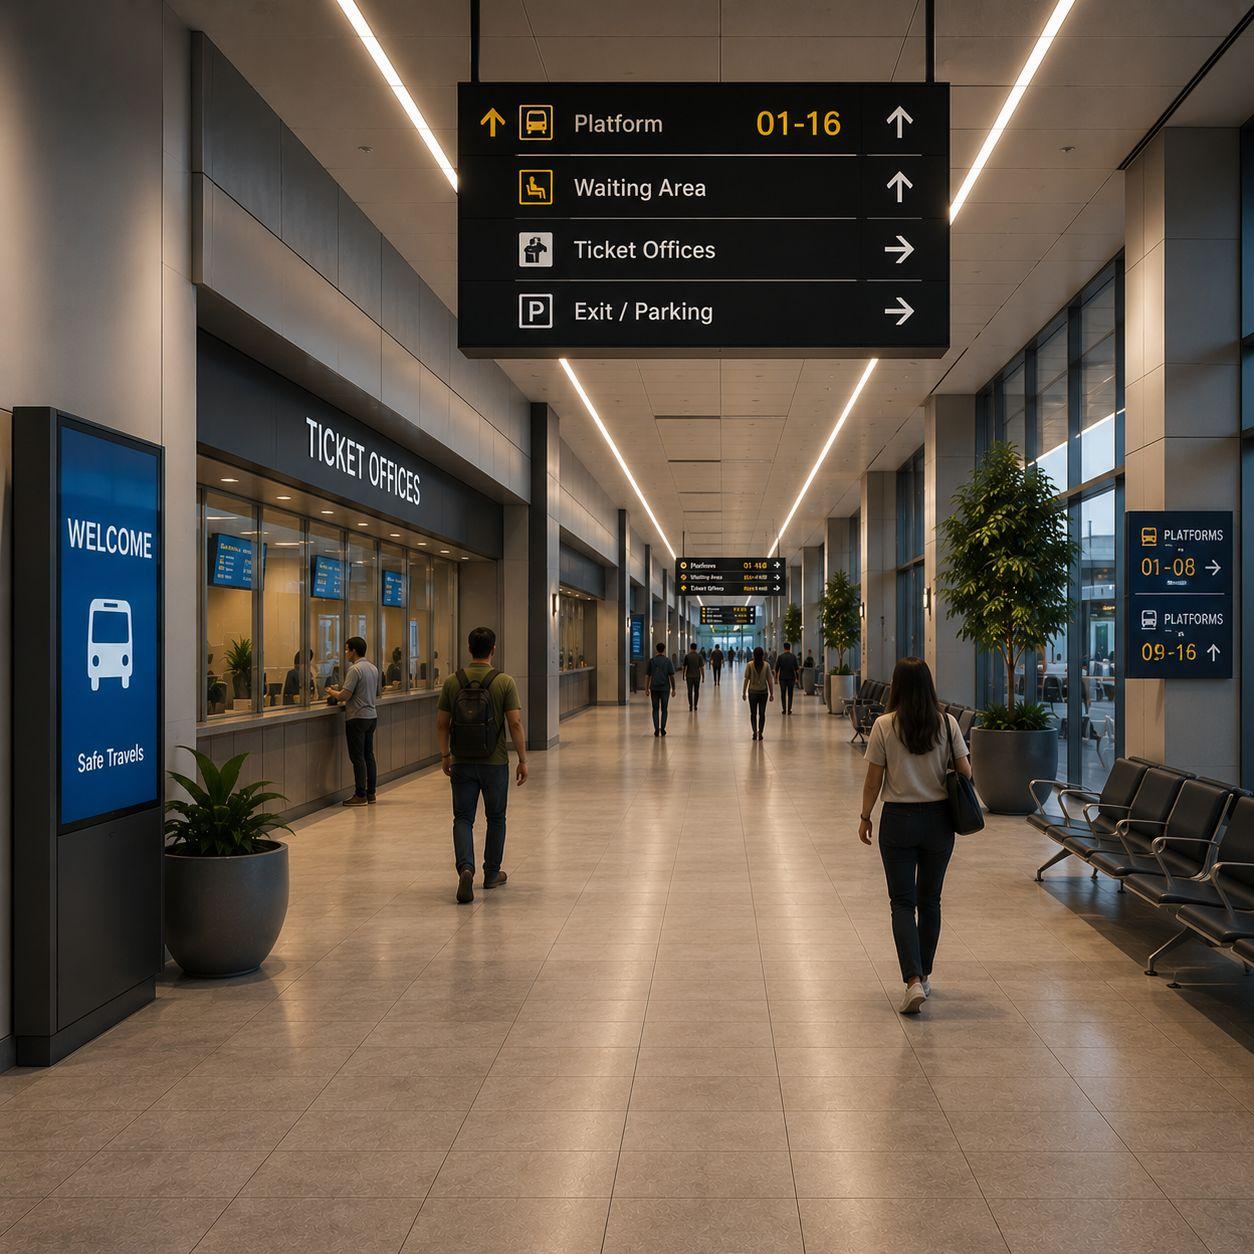
07Interior Corridors
Walkways and corridors connecting entrances, shops and platforms.
 08
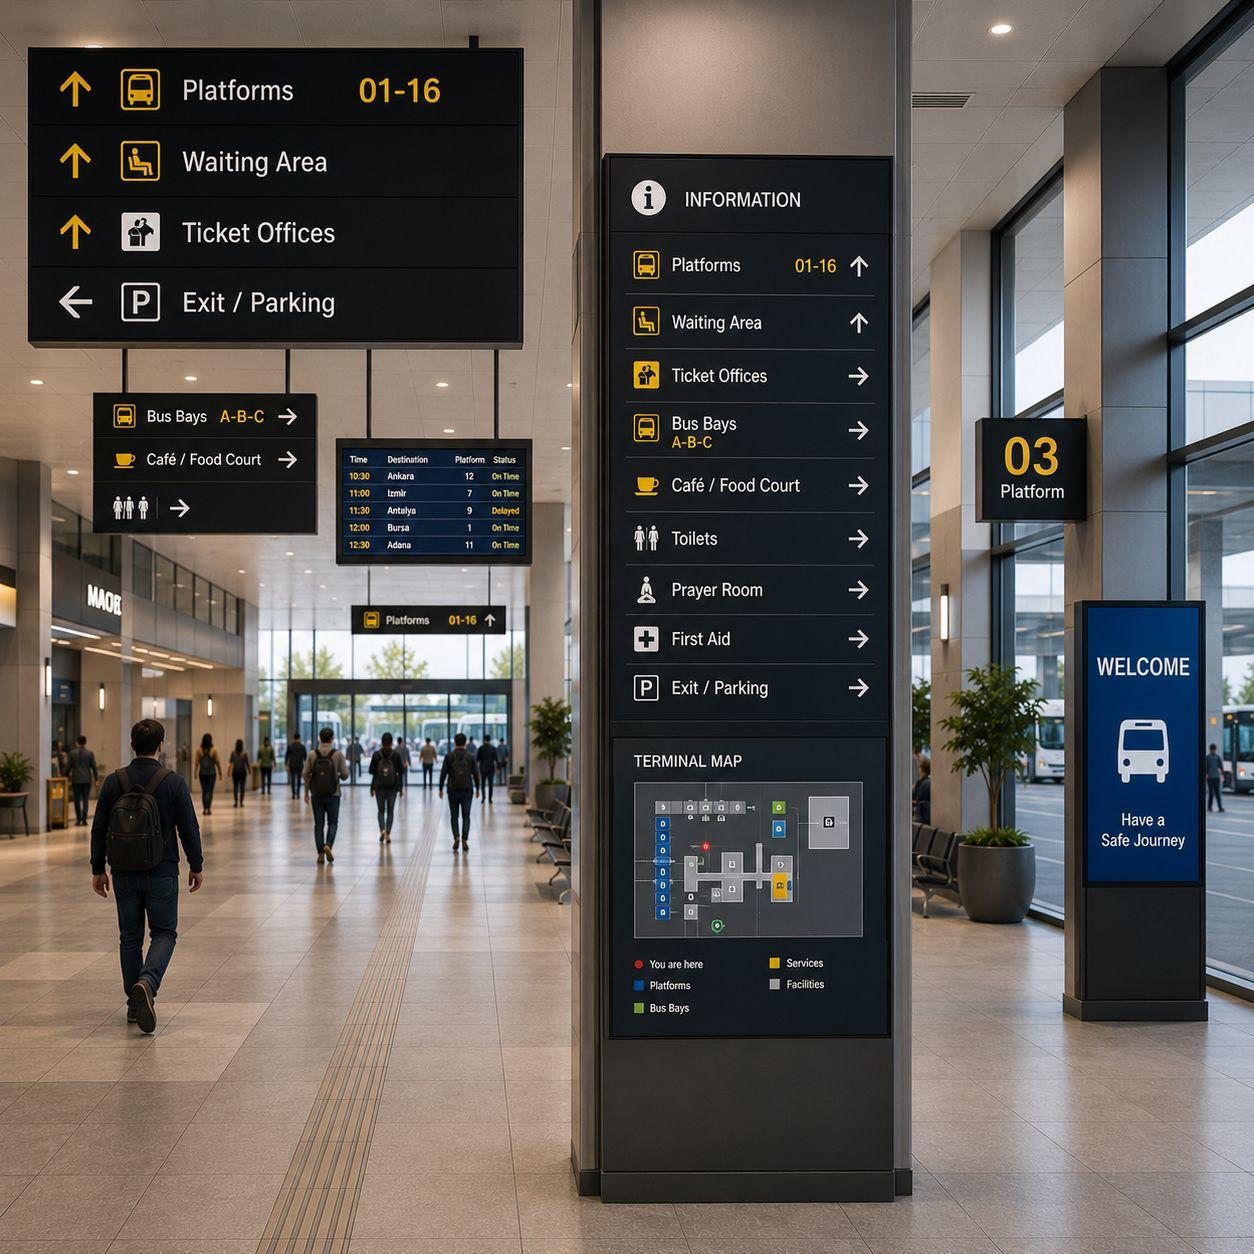
08Signage & Direction Boards
Departure boards, direction signs, platform indicators and timetables.
 09
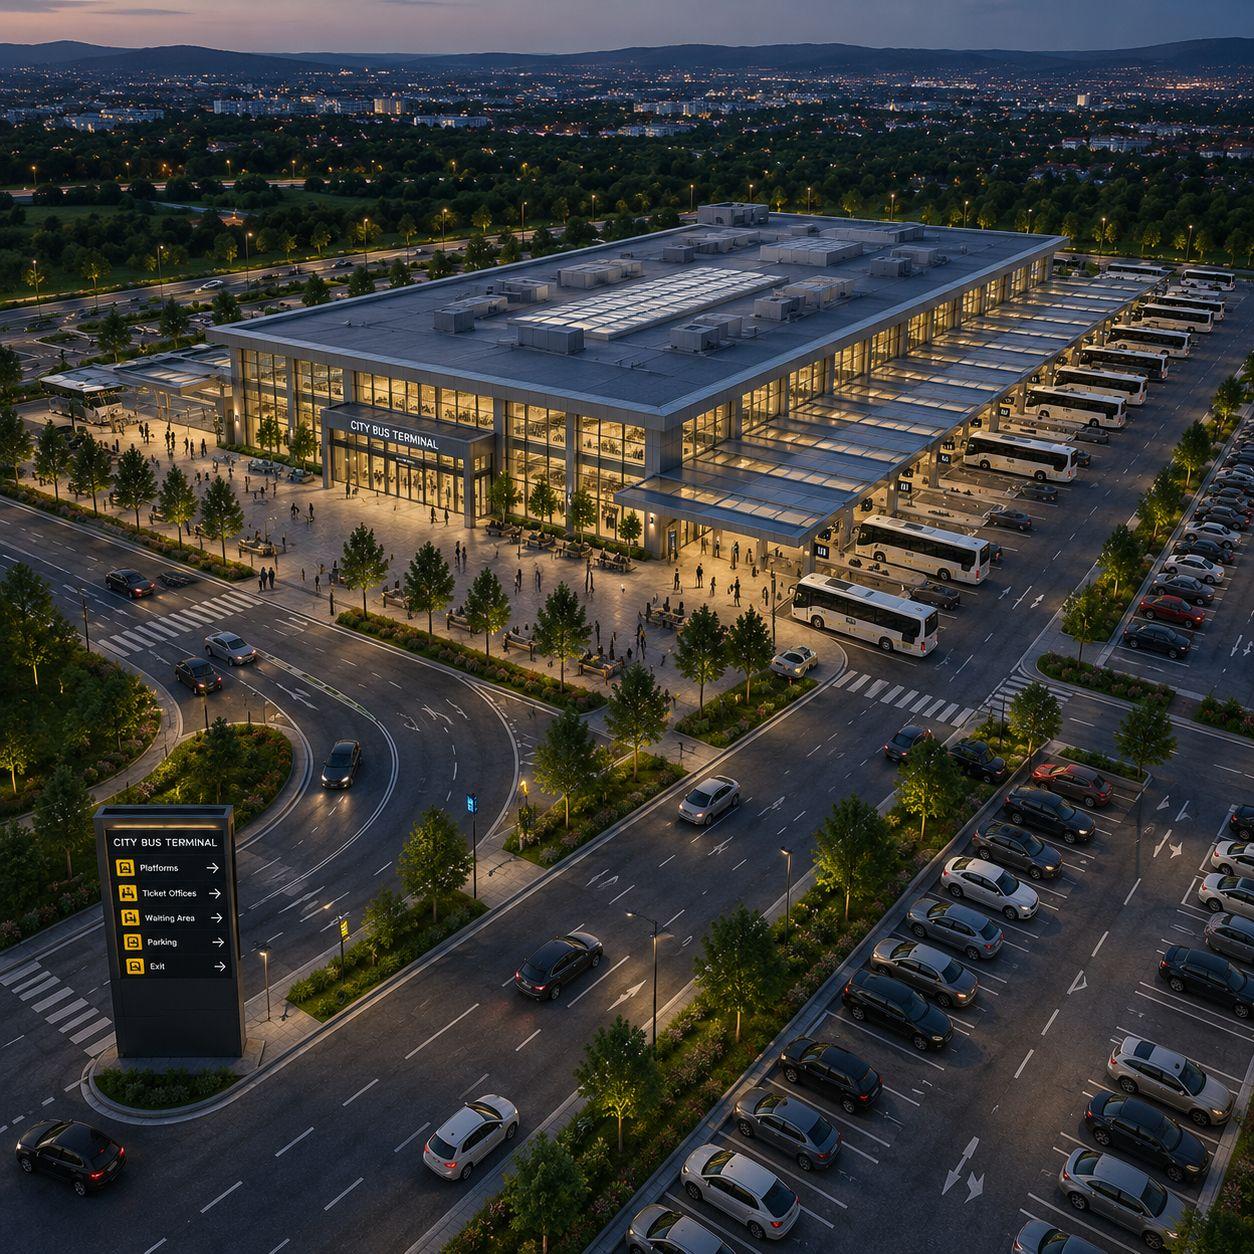
09Aerial or Wide Perspective
A shot from a higher vantage point (footbridge, parking deck, hill) showing the terminal layout.
 10
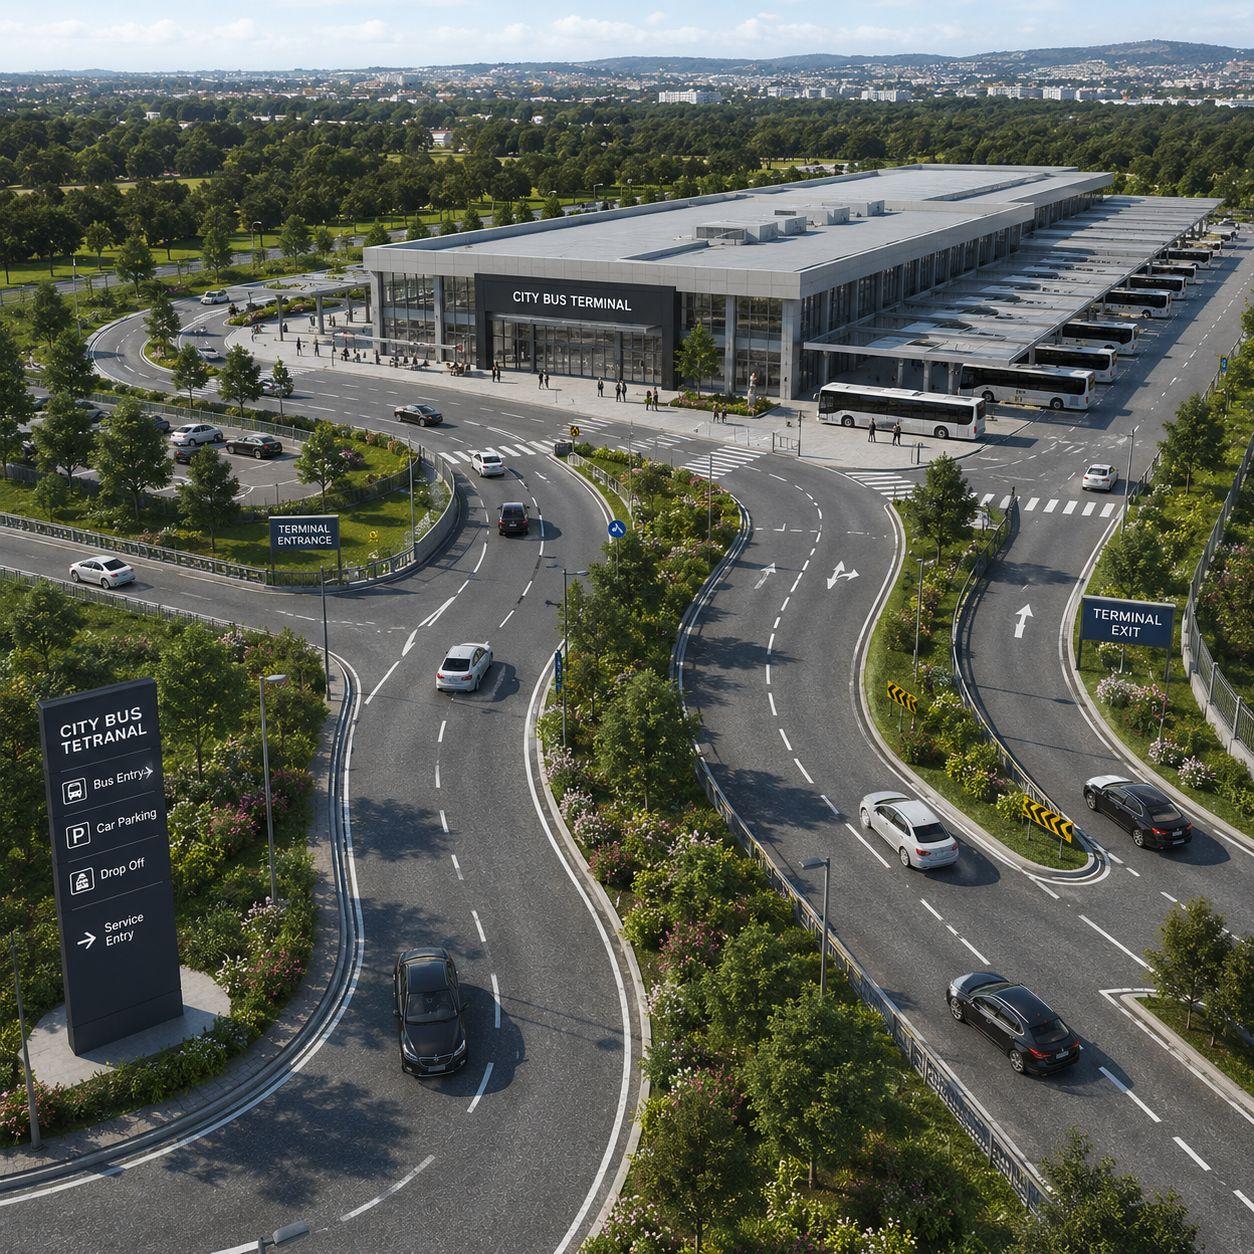
10Access Roads & Entrances
Roads, ramps and gates that buses use to enter and exit the terminal.
Bonus Angles (optional, but loved)
Night View
Rainy Weather View
Parking Area
Luggage Area
Taxi / Minibus Connections
Food Court
Restrooms, Prayer Room & Halls
Accepted
- Clear and high-resolution photos
- Preferably horizontal (landscape) orientation
- Wide-angle shots that show context
- Well-lit — not too dark
- Important areas fully in frame, not cropped
Rejected
- Blurry or out-of-focus photos
- Photos taken from the internet
- AI-generated photos
- Too many clearly visible faces
- License plates or private data as the main focus
- Unrelated places (not a bus terminal)
- Heavily edited or manipulated photos